

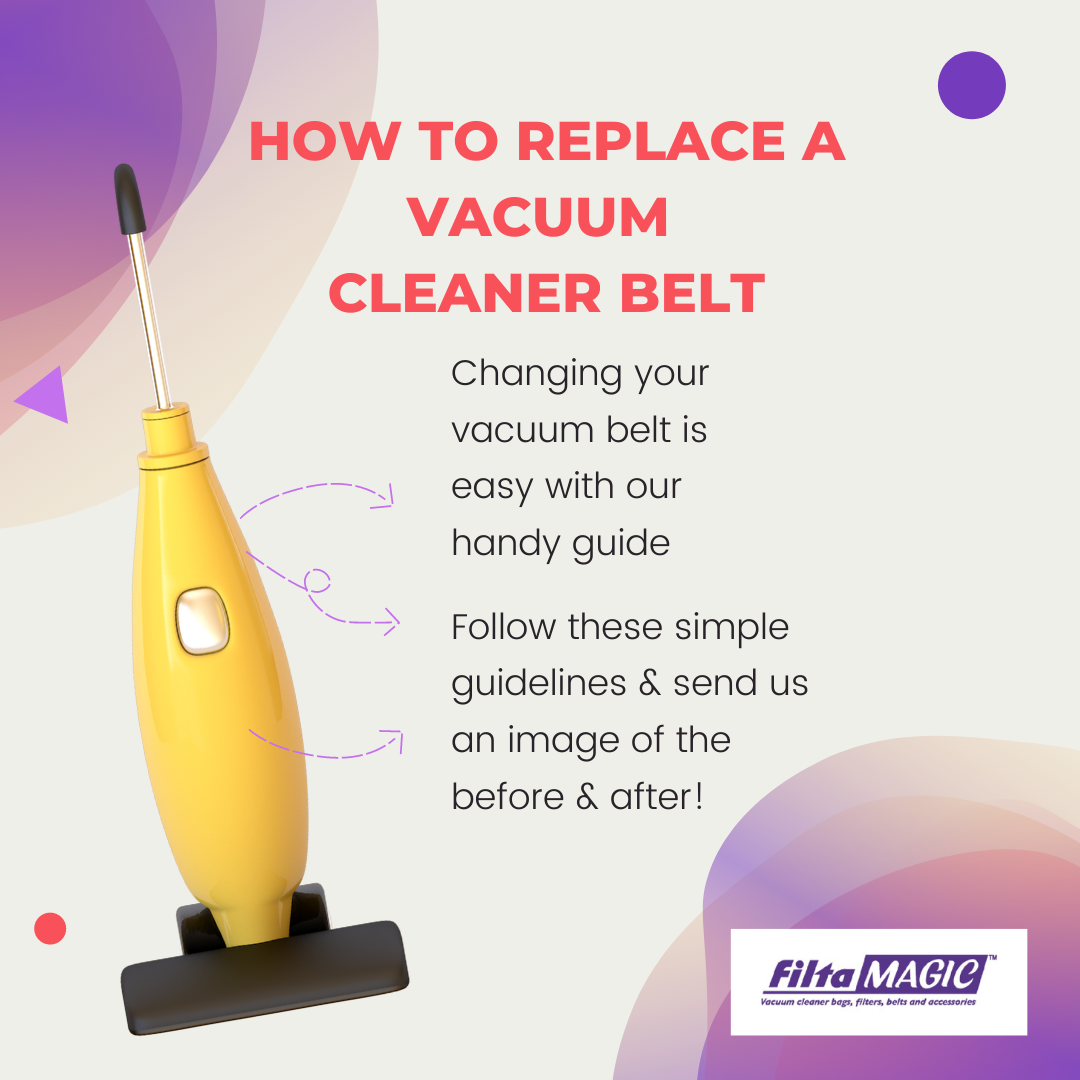
Every week our inbox is guaranteed to have an email from a customer asking for our help with replacing the belt on their upright vacuum cleaner.
So we thought it might be helpful to do a blog post about how to change the belt on an upright vacuum cleaner.
If you notice your upright vacuum cleaner is leaving dirt behind despite going over the same area multiple times, you’ve checked the bag and/or filters & there's nothing stuck in the hose, there is a good chance the dirt is being left behind because the brush bar is not turning properly due to a worn or snapped vacuum drive belt.
Don’t panic! You got this! It’s not expensive to get a new vacuum cleaner belt & takes very basic DIY skills! It's cheaper than buying a new one & imagine how proud you will be when you hear your trusty vacuum purring again & it’s all down to your DIY skills (with a little help from your trusty friends at FiltaMagic of course!)
So, let's do this guys!
NB: we know that you know, but please make sure the vacuum is disconnected from the mains before carrying out any repair work
With the vacuum cleaner unplugged, turn it upside down so you have clear access to the bottom of the cleaner. This will allow you to remove the sole plate which is the cover,which holds the brushbar in place; removing the sole plate only involves removing a few screws.
With the sole plate removed, you’ll be able to see:
i) Single belt system-flat/round rubber stretch belt between the motor shaft and the brush bar by its elastic tension..Or it could be a toothed belt which has to be replaced like for like according to the code printed on it.
ii) Two belt system-both flat rubber stretch belts-one between the motor shaft and clutch-one from clutch to the brush bar.
Check for any visible signs of damage. If the belt(s) are not looped around the brush bar it has snapped,If it has become frayed, is blistering, the surface cracked or is loose/stretched (does not turn the brush bar when you pull the belt) it needs replacing. Always replace both belts at the same time on a two belt system. Before removing the old belt(s) and the brush roll, take a look at how they are arranged in the vacuum and how they connect to each other.
Top tip here : Take a picture on your phone, so you can see how things are and put them back the same
To remove the old belt from your vacuum cleaner you’ll need to release the ends of the brush roll from the vacuum. This will allow the brush bar to be removed followed by the drive belt.
Note: Don’t panic (again) if the new belt you have purchased looks smaller when held against the old one - The old belt has stretched under tension, it will fit fine!
Now we are ready to attach your sparkly new belt(s)!
For a single belt system-First, slide the new vacuum belt around the vacuum motor shaft. Once it's on the shaft, thread the brush roll through the other end of the belt. Whatever the vacuum style, the idea is to return the brush bar and belt to their original positions before closing up the vacuum again. For vacuums that use round and flat belts, we often tell people to gently heat a new belt with a hair dryer to make it more flexible for fitting.
For a two belt system-Check which belt needs to go onto the clutch first (normally motor to clutch belt) fit the correct new belt around the correct clutch pulley and slide over the motor shaft . Fit the second belt around the other clutch pulley and thread the brush roll through the other end of the belt. Whatever the vacuum style, the idea is to return the brush bar and belt(s) to their original positions before closing up the vacuum again.
Top Tip! You may also find it easier if done standing over the vacuum, than with it lying on the ground. A carefully placed foot can provide the right counterweight!
Belt(s) on, brush bar located and it turns freely with your fingers, now refit the sole plate that you removed to access the brush bar area-try not to end up with any spare screws!!. Remember you took a picture of how everything looked…..
This repair is now complete & you can take a bow, you did it! Depending on the vacuum belt type, your new vacuum belt can last you months, or years, before another replacement. By being careful to correctly set any carpet height adjustment, avoiding to suck up objects that will block the brush bar and keeping the brush bar clean of excess hair and fibre build up will save you money & help towards saving our planet by not replacing your vacuum!!
It’s worth noting the method of replacing the drive belt may vary depending on the make and model of your cleaner, so any hitches at all, or you are not sure, just call our friendly team on 0870 745 3450 and we will be pleased to help you, we’ve been working with vacuums for over 30 years, so there’s not much we can’t help you with
To see the FiltaMagic range of vacuum cleaner belts, just click here & search your brand & model of vacuum - any issues, or if you can’t find what you want, just reach out to us on 0870 745 3450 & we will be more than happy to assist. Don’t forget about our price match guarantee & to use a cheeky discount code for our store, which you will find on our Instagram page here (come give us a follow & a like or two & we will love you even more) Better still, send us an image of your finished job over to us, for a chance to be featured on our socials & win a prize in our regular competitions
FiltaMagic is your #1 choice for vacuum filters, bags belts & accessories
Don’t forget guys to please follow us on Instagram here & on Facebook here & if you leave a comment there, we will love you even more!
One last thing, our newsletter will be starting up soon, so if you want to hear first about offers, promotions & what's going on at FiltaMagic Manors, then please sign up for the newsletter here we really would appreciate it